
how to build a pallet backdrop for wedding?
To build a pallet backdrop for a wedding, start by collecting enough wooden pallets to create the desired size and shape of the backdrop. Clean and sand the pallets to remove any dirt or rough edges. Next, arrange the pallets in the desired configuration, ensuring they are stable and secure. Use screws or nails to attach the pallets together at the corners and along the edges for added stability. If desired, paint or stain the pallets to match the wedding theme or decor. Once the pallets are securely attached and finished, you can decorate the backdrop with flowers, greenery, fabric, or other decorative elements to enhance the wedding ambiance.
1、 Selecting and preparing the pallets for use in a backdrop
To build a pallet backdrop for a wedding, you will need to start by selecting and preparing the pallets for use. Here are the steps to follow:
1. Selecting the pallets: Look for pallets that are in good condition and free from any damage or rot. Choose pallets that have a similar size and shape to ensure a uniform look for your backdrop.
2. Cleaning the pallets: Before using the pallets, it's important to clean them thoroughly. Remove any dirt, dust, or debris using a brush or a pressure washer. Allow the pallets to dry completely before moving on to the next step.
3. Sanding the pallets: To create a smooth surface, sand the pallets using sandpaper or an electric sander. This will help prevent any splinters or rough edges that could potentially harm guests or snag on clothing.
4. Painting or staining (optional): If you want to add a touch of color or match the wedding theme, consider painting or staining the pallets. Use a paint or stain that is suitable for outdoor use and let them dry completely before assembling the backdrop.
5. Assembling the backdrop: Arrange the pallets in the desired pattern or design. You can stack them vertically or horizontally, depending on the look you want to achieve. Secure the pallets together using screws or nails to ensure stability.
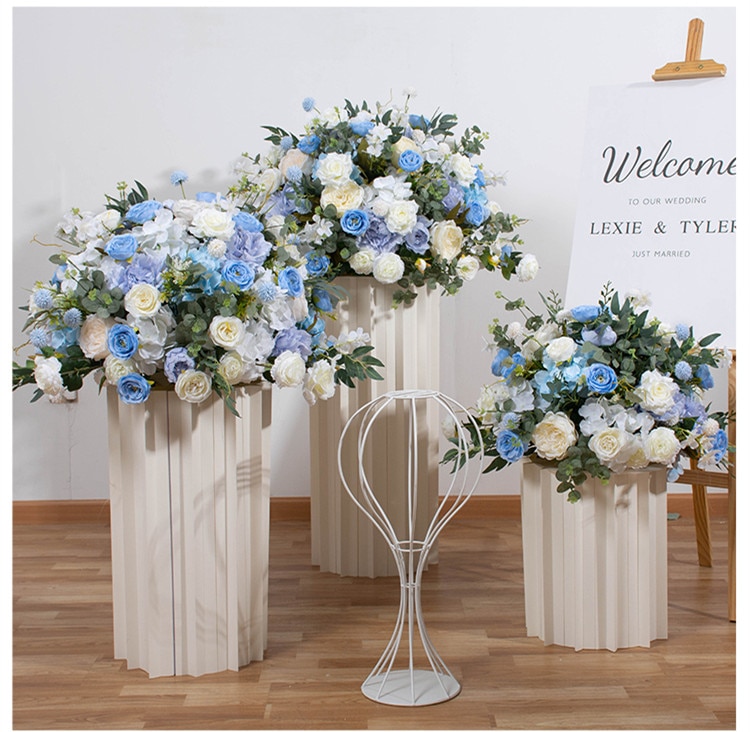
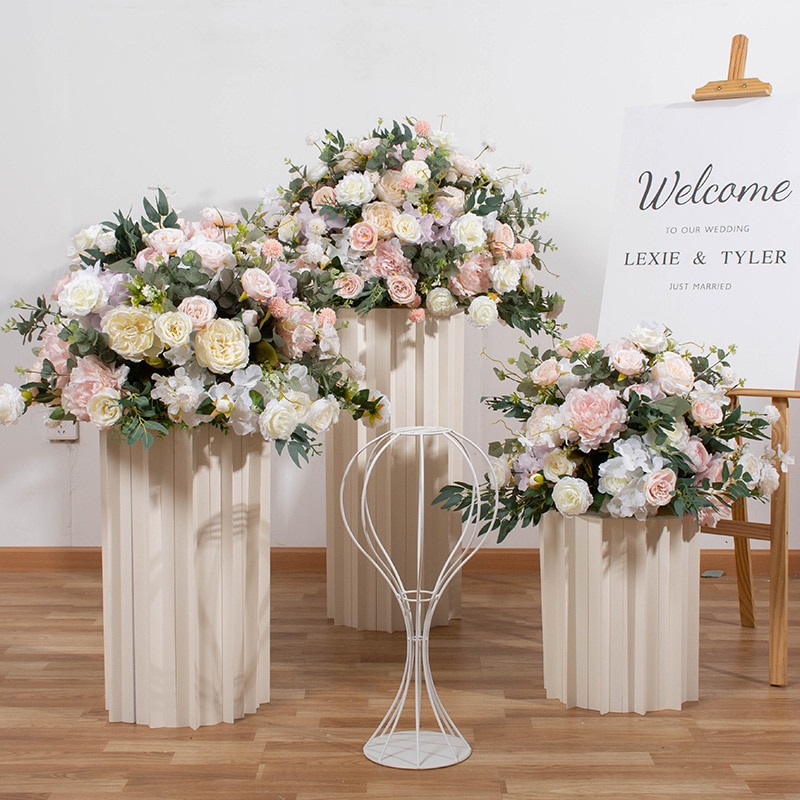
6. Decorating the backdrop: Once the pallets are assembled, you can add additional decorations such as flowers, greenery, or fairy lights to enhance the overall look of the backdrop.
Remember to consider the size and weight of the backdrop when setting it up at the wedding venue. It's important to ensure that it is stable and securely anchored to prevent any accidents or mishaps.

2、 Designing the layout and arrangement of the pallets
To build a pallet backdrop for a wedding, you will need to consider a few key steps. The first step is to gather the necessary materials, including pallets, screws, a drill, sandpaper, and paint or stain if desired. Once you have all the materials, you can begin designing the layout and arrangement of the pallets.
When designing the layout, consider the size and shape of the backdrop you want to create. Pallets can be arranged vertically or horizontally, depending on the desired aesthetic. You can also experiment with different patterns or angles to add visual interest.
Next, you will need to prepare the pallets for assembly. Start by sanding down any rough edges or splinters to ensure a smooth surface. If desired, you can also paint or stain the pallets to match your wedding theme or color scheme.
Once the pallets are prepared, you can begin assembling the backdrop. Use screws and a drill to secure the pallets together, ensuring they are stable and sturdy. It may be helpful to have an extra set of hands to assist with holding the pallets in place during assembly.
After the backdrop is assembled, you can add any additional decorations or embellishments to personalize it for your wedding. Consider adding flowers, greenery, or string lights to enhance the overall look.
Lastly, make sure to test the stability of the backdrop before the wedding day. Ensure it is securely anchored to the ground or wall to prevent any accidents or mishaps.
In conclusion, building a pallet backdrop for a wedding involves designing the layout and arrangement of the pallets, preparing the pallets, assembling the backdrop, adding decorations, and ensuring its stability. With careful planning and attention to detail, you can create a beautiful and unique backdrop for your special day.
3、 Securing the pallets together to create a stable backdrop
To build a pallet backdrop for a wedding, you will need to secure the pallets together to create a stable structure. Here's a step-by-step guide on how to do it:
1. Gather the pallets: Start by collecting enough pallets to create the desired size of your backdrop. You can often find pallets for free at local businesses or online marketplaces.
2. Clean and prepare the pallets: Thoroughly clean the pallets to remove any dirt or debris. Sand down any rough edges or splinters to ensure a smooth surface.
3. Arrange the pallets: Lay out the pallets in the desired configuration for your backdrop. You can stack them vertically or horizontally, depending on the look you want to achieve.
4. Secure the pallets: Use screws or nails to attach the pallets together at the corners and along the sides. Make sure to align them properly to create a stable structure. You may also consider using brackets or metal plates for added stability.
5. Reinforce the structure: To ensure the backdrop is sturdy, add additional support by attaching wooden beams or braces across the back of the pallets. This will help distribute the weight evenly and prevent any wobbling.
6. Customize the backdrop: Once the pallets are securely fastened together, you can personalize the backdrop by painting it in your desired color or adding decorations such as flowers, fairy lights, or fabric drapes.
It's important to note that safety should always be a priority when building any structure. Ensure that the pallets are in good condition and properly secured to prevent any accidents or injuries. Additionally, consider the venue's regulations and seek permission if necessary before setting up the pallet backdrop.
4、 Adding decorative elements to enhance the backdrop's aesthetic appeal
To build a pallet backdrop for a wedding, follow these steps:
1. Gather the necessary materials: You will need wooden pallets, sandpaper, paint or stain, paintbrushes, screws, a drill, and a level.
2. Prepare the pallets: Sand down any rough edges or splinters on the pallets to ensure they are safe to handle. If desired, paint or stain the pallets to match the wedding theme or color scheme. This step can add a personal touch and enhance the overall aesthetic appeal of the backdrop.
3. Arrange the pallets: Decide on the desired height and width of the backdrop. Stack the pallets vertically or horizontally, depending on the desired design. Use a level to ensure the pallets are straight and even.
4. Secure the pallets: Once the pallets are arranged, use screws and a drill to attach them together. Make sure to secure them at multiple points to ensure stability.
5. Adding decorative elements: To enhance the backdrop's aesthetic appeal, consider adding decorative elements. You can attach fairy lights, flowers, greenery, or fabric to the pallets. These elements can add a touch of elegance and create a romantic atmosphere.
6. Personalize the backdrop: Consider adding a personalized touch to the backdrop by incorporating the couple's initials, a monogram, or a custom sign. This can make the backdrop more meaningful and unique to the wedding.
Remember to consider the latest trends and styles when designing your pallet backdrop. For example, incorporating boho-inspired elements such as macrame or dreamcatchers can add a trendy and whimsical touch. Additionally, using a mix of different-sized pallets or incorporating geometric shapes can create a modern and visually interesting backdrop.


Leave your comment